Loading...
Loading...
T: 01424 424 423
E: info@linkssigns.co.uk
![]()
![]()
![]()

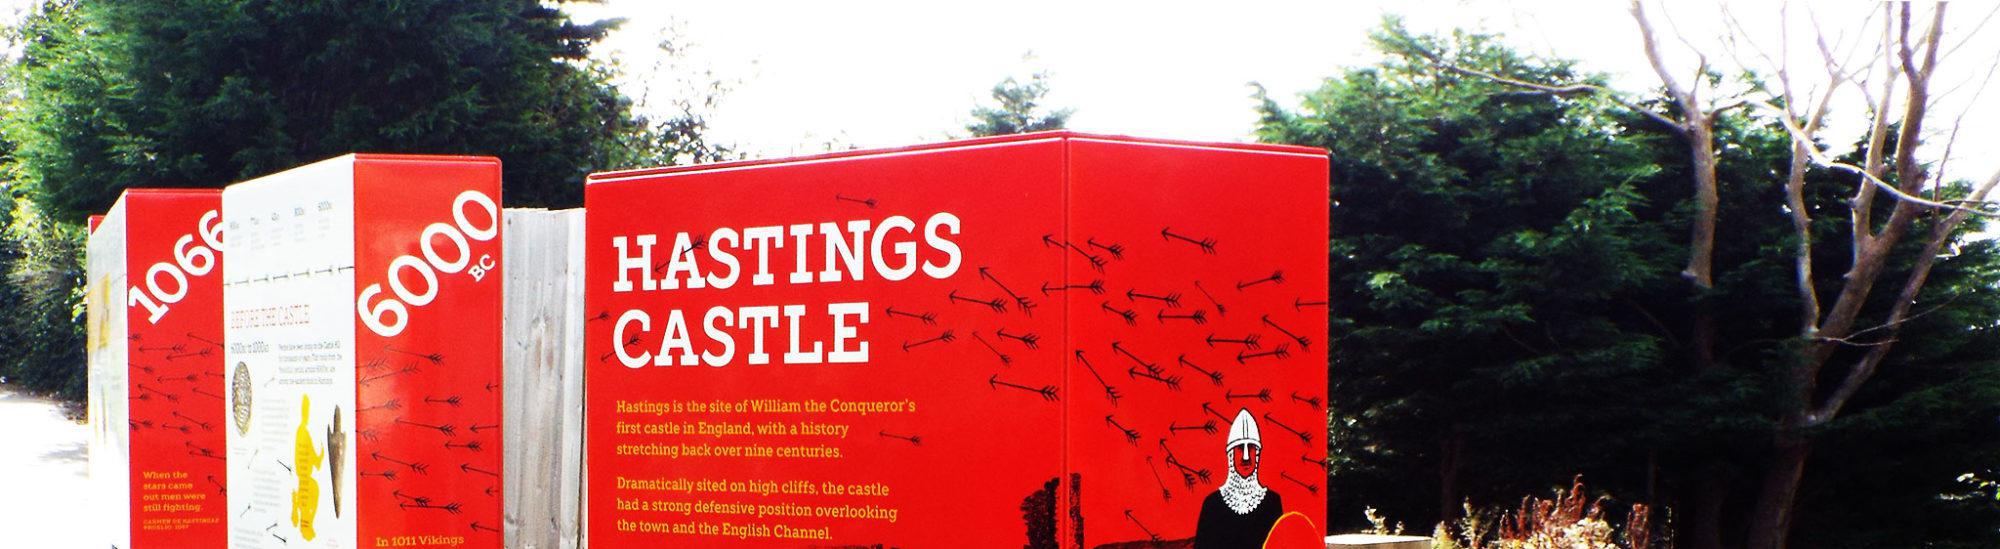
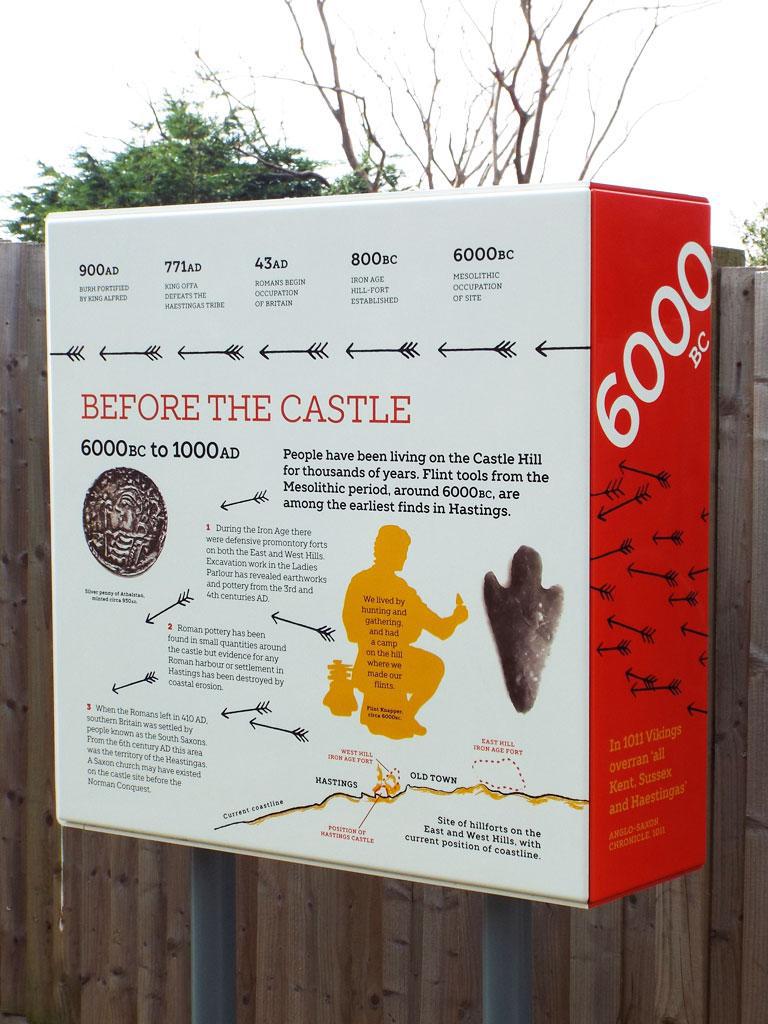
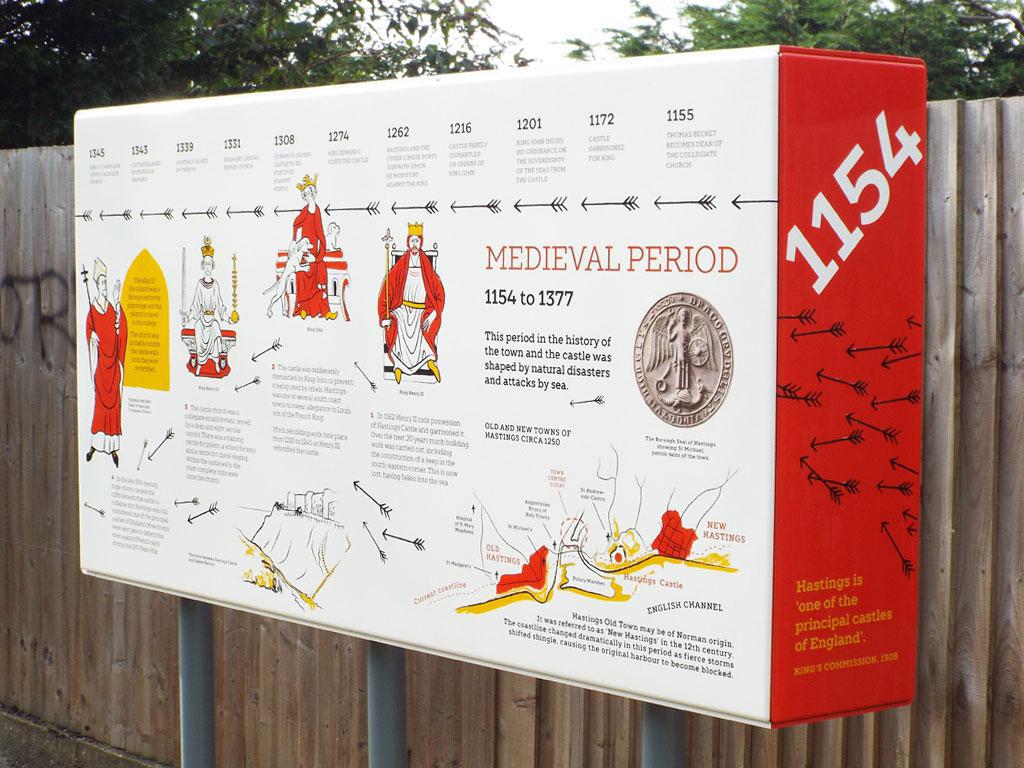
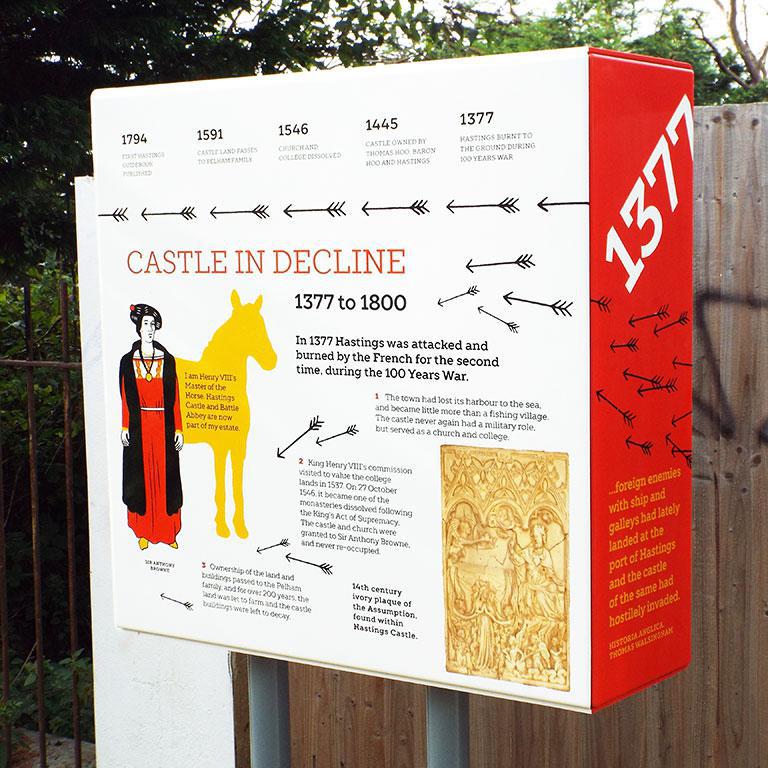
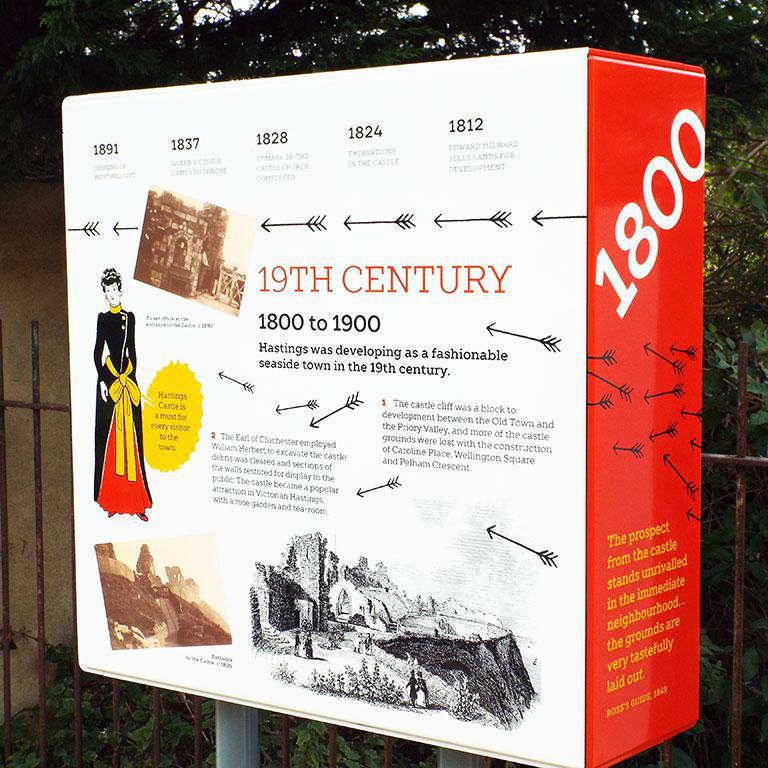
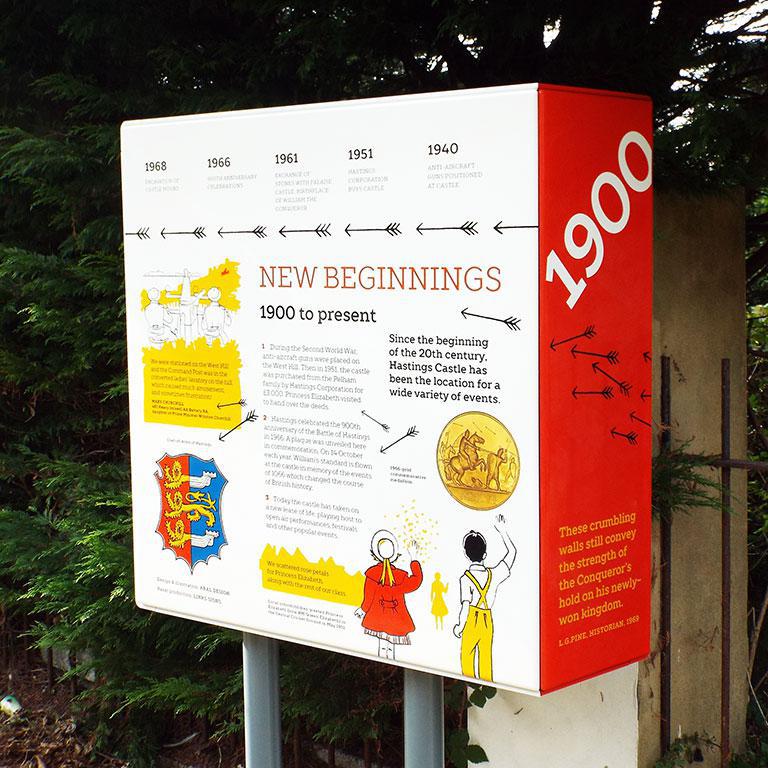
Links Signs were commissioned to fabricate a set of vitreous enamel Infographics panels for Hastings Castle. The designs were created by local agency, Aral Design. The idea was to depict the Timeline of Hastings Castle on the approach path up to the entrance. Key dates in history present themselves as visitors walk past. These all link together to form a seamless Timeline, stretching from the Mesolithic period, all the way through to present times. Vitreous enamel is the perfect choice for its vibrancy of colour, durability and vandal resistant properties. Suzan Aral, the designer of the graphics, used imagery from the Bayeux Tapestry as inspiration for her designs for the Timeline, choosing a limited colour palette for maximum impact.

Video displayed with the kind permission of Aral Design
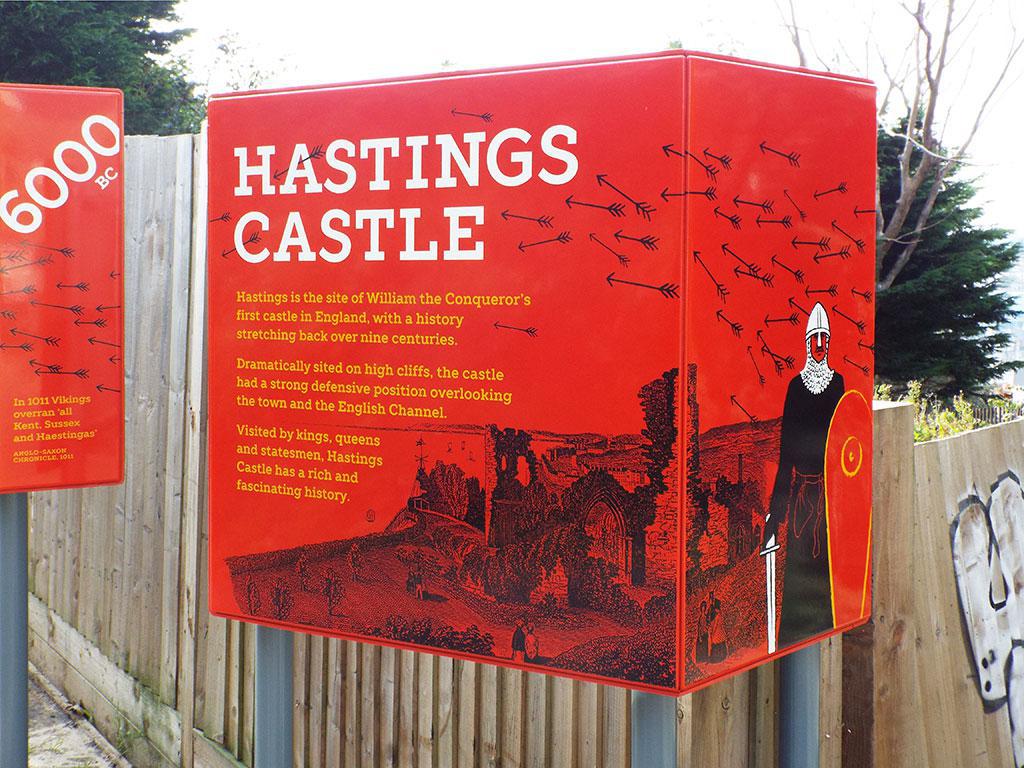
Each Timeline panel consists of two separate flanged vitreous enamel panels, joined at an angle. Each bright red angled panel has a key date printed on it. Visitors see these red panels first when they walk past. Conversely, the face of the panels are pure white, with infographics displayed giving a detailed historical narrative for each key date.
The graphics on the face panels are a combination of screen printed graphics and photos of historical artefacts, paintings and drawings. These photos are digitally printed transfers, applied to the panels and sealed during the enamelling process. Attached to the rear of the infographics are aluminium backing panels. These backing panels incorporate a mechanically fixed rail system for post mounting. We supplied new posts as part of the installation. As a finishing touch, all the panels include polyester powder coated frames matching the enamel colours – to give the impression of a frameless system.
All works were undertaken by Links Signs expert and fully accredited in-house installation crews. We carried out a survey at the start of the project to determine post locations for the panels. We also scanned the area for buried services before excavation. Installation was a two stage process. Firstly, the posts were levelled and allowed to set. We then returned to install the panels. Once the installation was complete, all holes were filled and made good with a new tarmac finish.


We’re more than happy to talk about your sign or cladding project - just fill in this form and our team will be in touch.
Copyright Links Signs Ltd 2026 | Sitemap
Web design and development by Clicky Media
Website by Clicky Media
©Links Signs Ltd 2026
![]()
![]()
![]()
Tel: 01424 424 423
Email: info@linkssigns.co.uk
T: 01424 424 423
E: info@linkssigns.co.uk